Within this tutorial, we are going to use RapidCompact CLI to simplify a textured 3D mesh with UV coordinates. Within the previous tutorial, you have seen how RapidCompact can be used to simplify an untextured mesh, and how the different settings affect the result.
Given a high-resolution textured mesh, there are basically two ways to produce a low-poly version that is textured as well.
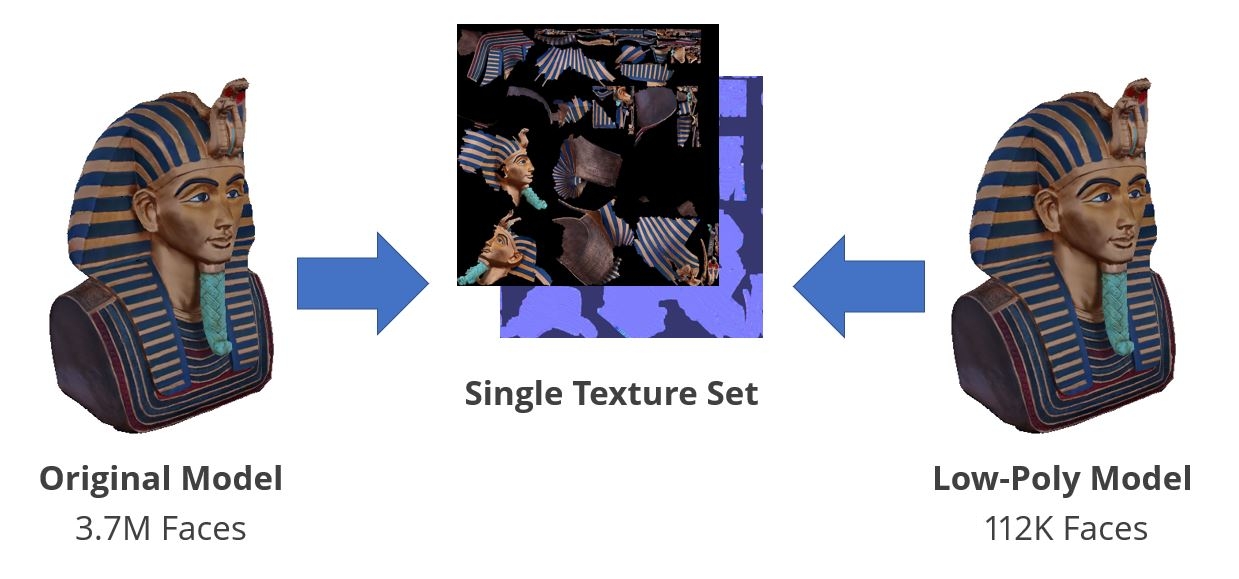
We will now use the first method, UV-preserving decimation, on a simple example mesh of a scanned pharao bust (courtesy of CultLab 3D), which you can download here. There are two related decimation setting where we need to make sure that they are switched on:
| Name | Type | Default | Valid Range | Quick Description |
|---|---|---|---|---|
| decimation:preserveUVs | Flag | false | {true, false} | preserves texture coordinates during decimation |
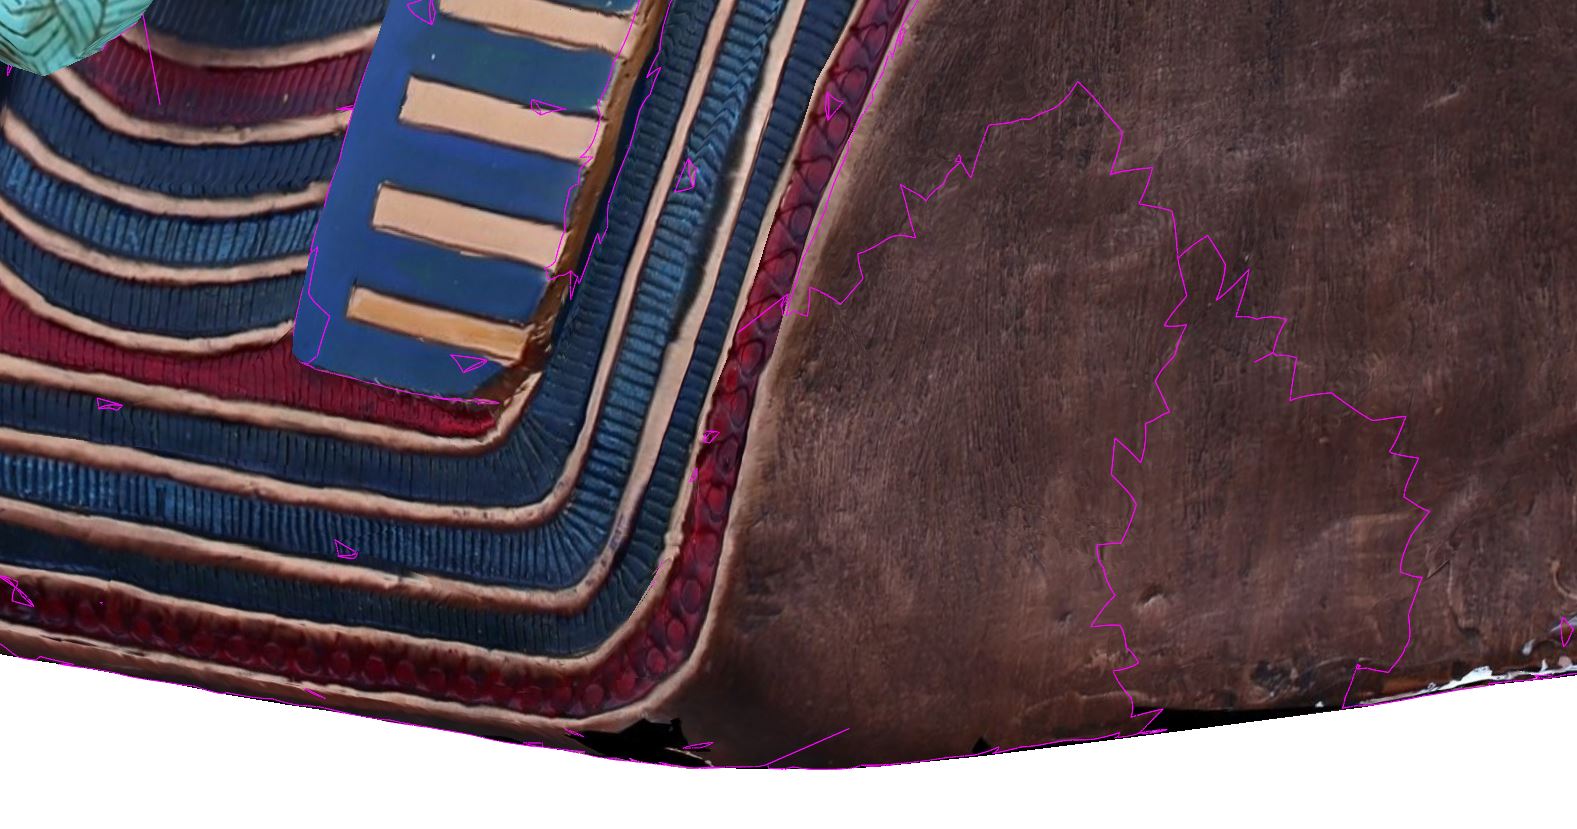
| decimation:preserveMaterialBorders | Flag | false | {true, false} | preserves mesh material borders during decimation |
Try now to use the UV-preserving decimation on the pharao model:
rpdx -s decimation:preserveUVs true -s decimation:preserveMaterialBorders true -i Tutanch_scan.obj -c f:500 -e result.glb
WARNING: Could not reach the decimation target. Final face count [...]
Caused by geometry, topology or material preservation constraints.
Decimation target missed. Re-running decimation. [...]Using decimate, the UV preservation behaves just as in the older RapidCompact Versions and will automatically stop before the mesh breaks - however the decimation target might then be not reached either. For more information about this continue reading below.
RapidCompact CLI will generate a simplified version, and the output textures will match exactly with the input ones (in fact, one can use the same images for both versions of the model, which may be one reason to go with UV-preserving simplification).
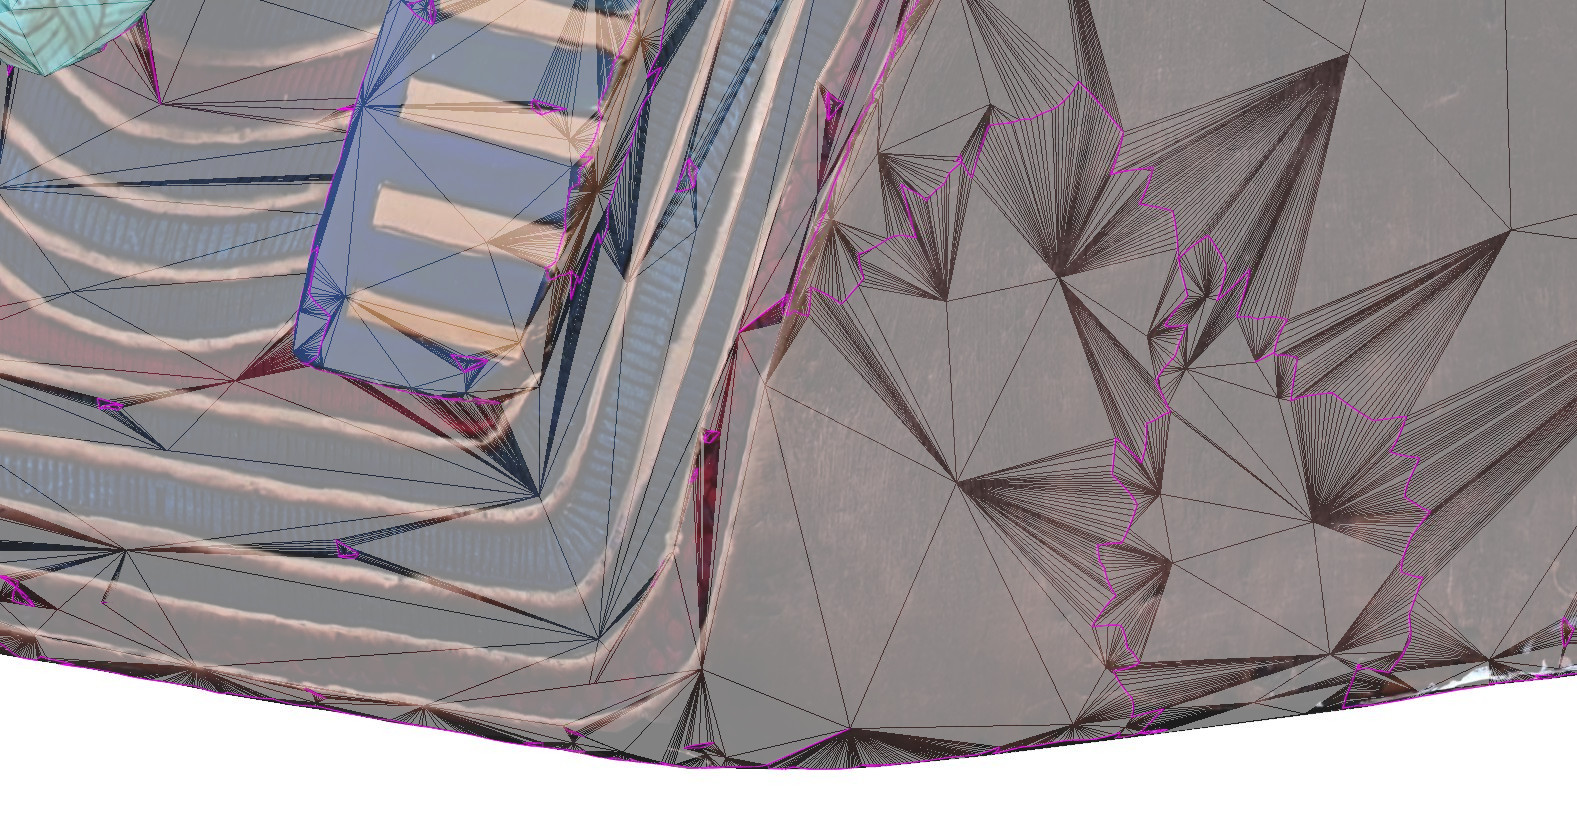
However, you may realize that the output model does not have 500 faces, although we requested that - instead, the model has still more than 1,000 faces left after decimation using --decimate or even 150% of that if using --compact! RapidCompact also provides us with a warning:
   WARNING: Could not reach the decimation target. Final face count 1300 (0%).
   Caused by geometry, topology or material preservation constraints.
   Decimation target missed. Re-running decimation. [...]
Let's have a look at these warnings and see what has happened, and why.
As mentioned in the beginning, there is an alternative if we allow to resample the texture content into new images, which effectively allows RapidCompact to simplify the shape of the boundaries in the texture atlas as well (method covered in the LOD tutorial).
By default, rpdx tries to recalculate normals and re-bake normals maps (using the same UVs) for the optimized low resolution mesh. In some cases this does not work due to overlapping UVs which is indicated by the following warning message:
WARNING: Could not re-bake all normal map textures due to UV overlaps